'%3e%3c!--%20mat:%20red%20chevron%20trailing%20at%20the%20rope%20angle,%20cream%20top%20edge%20--%3e%3cpath%20d='M10%20392%20L181%20358%20Q187%20356.6%20193%20358%20L364%20392%20L364%20520%20L10%20520%20Z'%20fill='%23C5392C'/%3e%3cpath%20d='M10%20392%20L181%20358%20Q187%20356.6%20193%20358%20L364%20392'%20fill='none'%20stroke='%23EDECE8'%20stroke-width='14'/%3e%3c/g%3e%3cpath%20d='M178%206%20Q187%201%20196%206%20L364%2084%20Q371%2088%20371%2097%20L371%20396%20Q371%20417%20350%20428%20L195%20503%20Q187%20507%20179%20503%20L24%20428%20Q3%20417%203%20396%20L3%2097%20Q3%2088%2010%2084%20Z'%20fill='none'%20stroke='%23EDECE8'%20stroke-width='14'%20stroke-linejoin='round'/%3e%3cg%20fill='%23C5392C'%3e%3crect%20x='129'%20y='103'%20width='116'%20height='62'%20rx='20'/%3e%3crect%20x='129'%20y='187'%20width='116'%20height='62'%20rx='20'/%3e%3crect%20x='129'%20y='271'%20width='116'%20height='62'%20rx='20'/%3e%3c/g%3e%3c/svg%3e) Turnbuckle
TurnbuckleAdding your first venue
Create a reusable venue record with the capacity your event planning needs.
Venue records keep the places you run shows ready to reuse across events. Add a venue once, then select it while planning future dates instead of entering the same location details again.
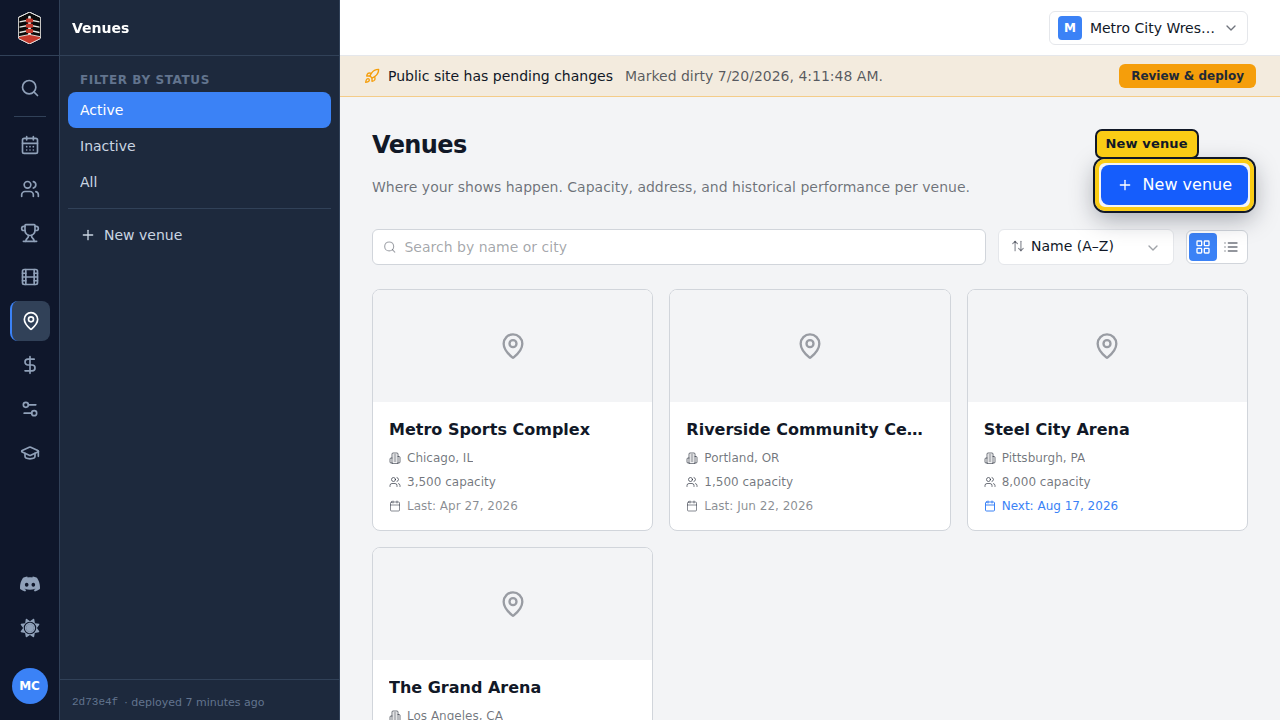
Open your venues
Choose Venues in the sidebar. This page lists the locations already available to your promotion; select New venue to add another.
Add the essentials
Start with the venue's name and capacity. You can save these core details first and complete the address or other information from the venue overview.
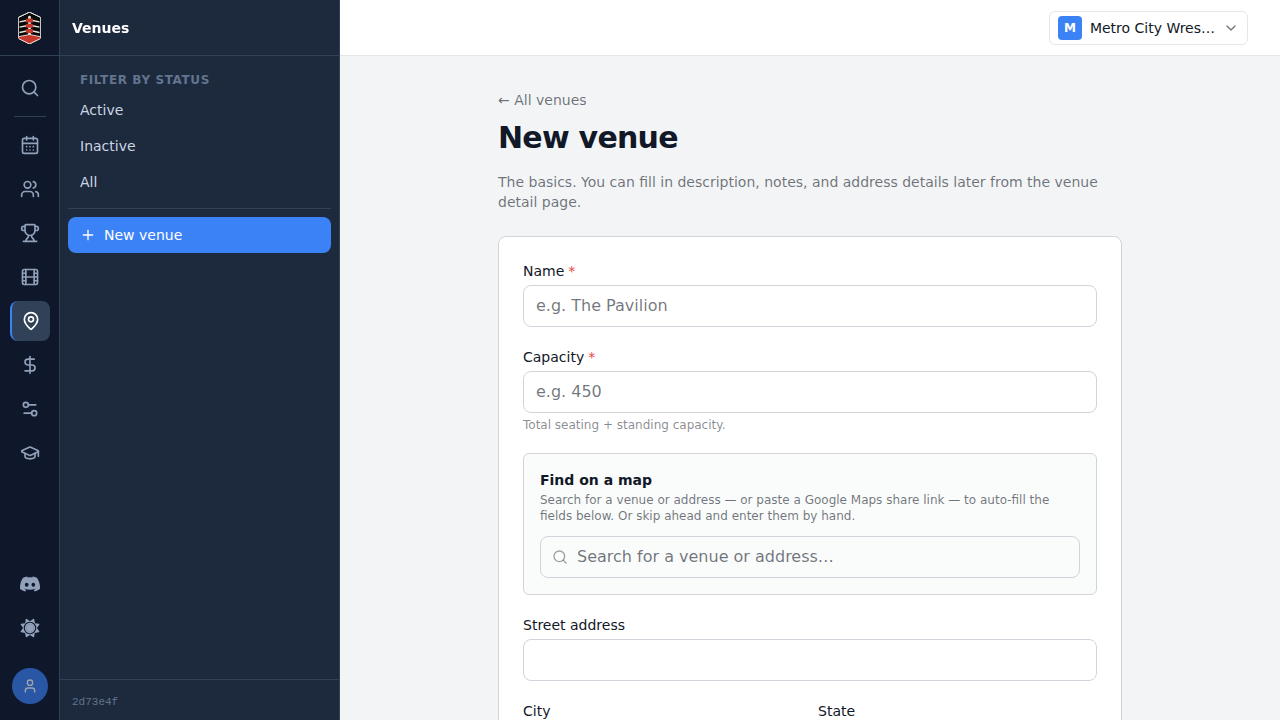
Use the venue's recognizable public name so it is easy to identify later. For capacity, enter the number of guests the space can accommodate for your setup.
Review the venue
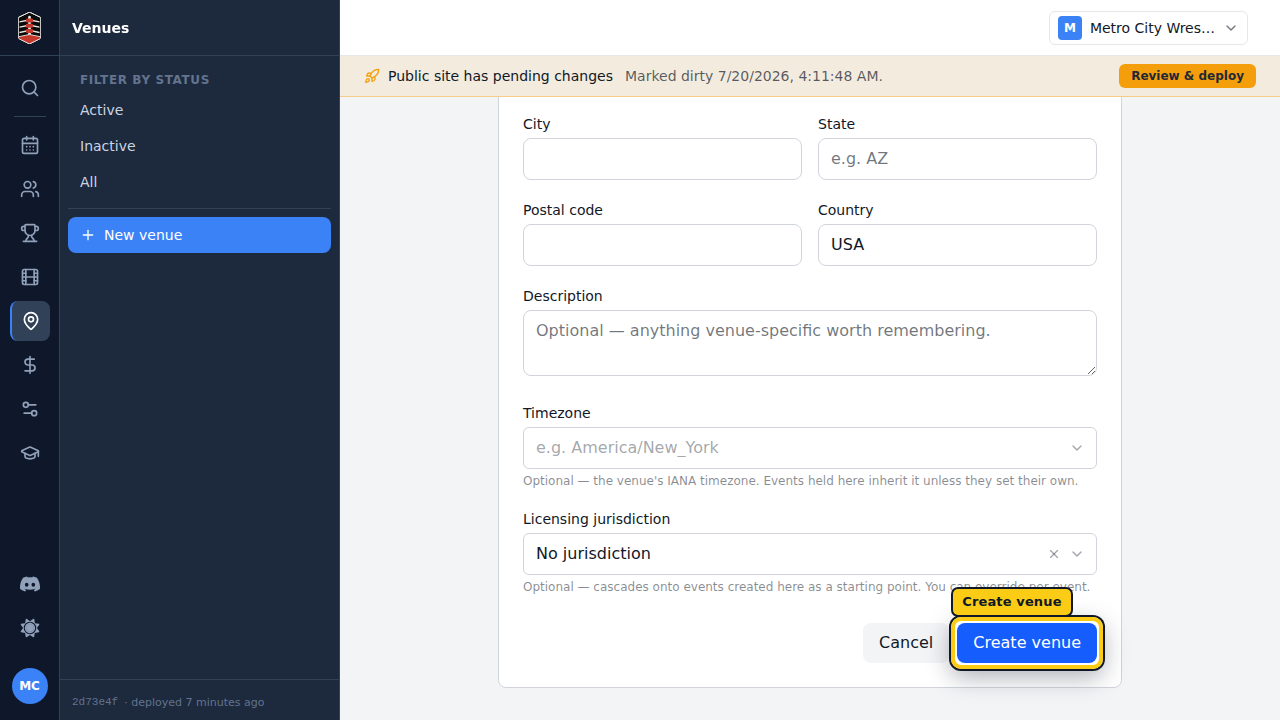
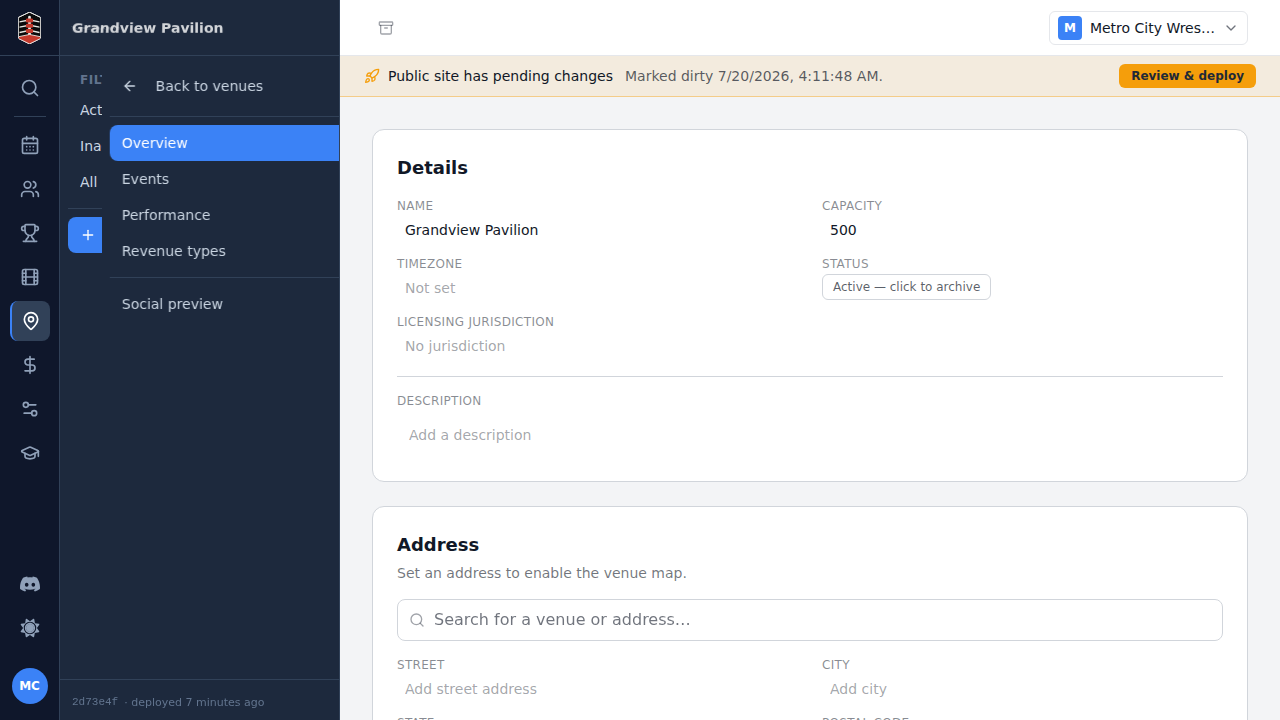
Select Create venue to save the location. Turnbuckle takes you directly to its overview so you can review what you entered and continue setting it up.
The detail page is the venue's home for future updates. Confirm the name and capacity here before assigning the location to an event.
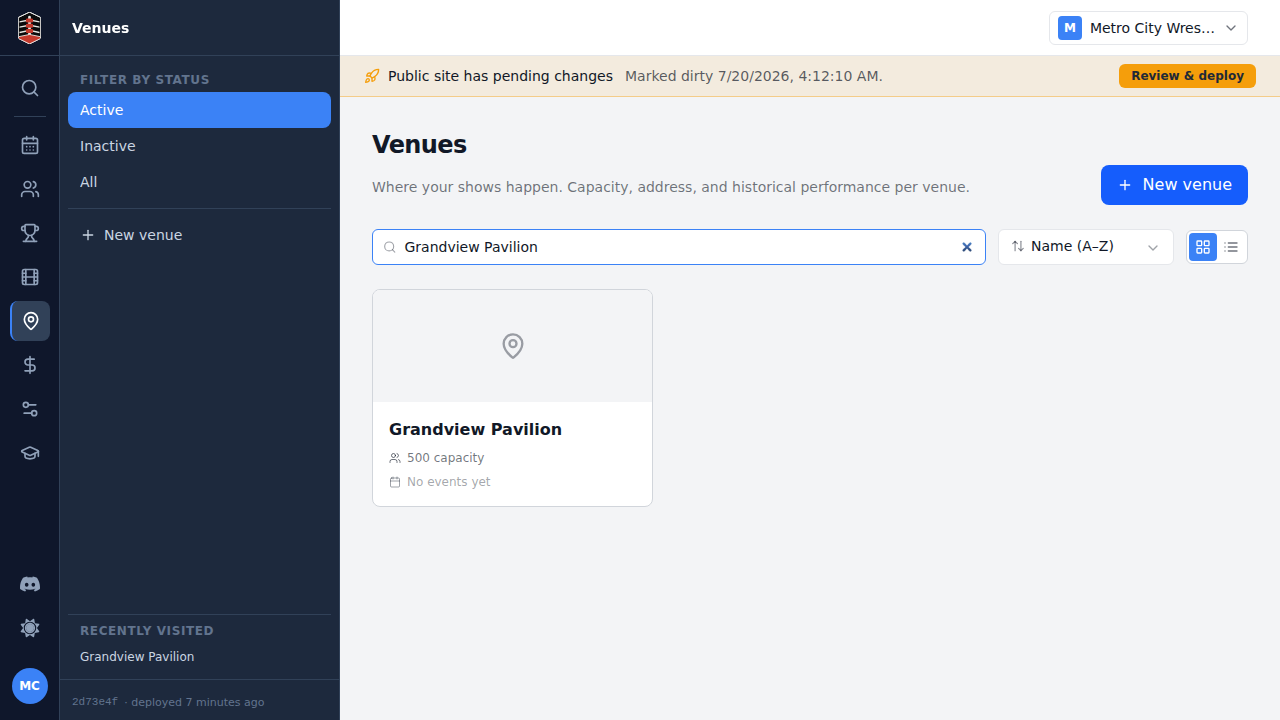
Back on Venues, search by name or city to find the new location. It is now available wherever your promotion needs to choose a venue.