'%3e%3c!--%20mat:%20red%20chevron%20trailing%20at%20the%20rope%20angle,%20cream%20top%20edge%20--%3e%3cpath%20d='M10%20392%20L181%20358%20Q187%20356.6%20193%20358%20L364%20392%20L364%20520%20L10%20520%20Z'%20fill='%23C5392C'/%3e%3cpath%20d='M10%20392%20L181%20358%20Q187%20356.6%20193%20358%20L364%20392'%20fill='none'%20stroke='%23EDECE8'%20stroke-width='14'/%3e%3c/g%3e%3cpath%20d='M178%206%20Q187%201%20196%206%20L364%2084%20Q371%2088%20371%2097%20L371%20396%20Q371%20417%20350%20428%20L195%20503%20Q187%20507%20179%20503%20L24%20428%20Q3%20417%203%20396%20L3%2097%20Q3%2088%2010%2084%20Z'%20fill='none'%20stroke='%23EDECE8'%20stroke-width='14'%20stroke-linejoin='round'/%3e%3cg%20fill='%23C5392C'%3e%3crect%20x='129'%20y='103'%20width='116'%20height='62'%20rx='20'/%3e%3crect%20x='129'%20y='187'%20width='116'%20height='62'%20rx='20'/%3e%3crect%20x='129'%20y='271'%20width='116'%20height='62'%20rx='20'/%3e%3c/g%3e%3c/svg%3e) Turnbuckle
TurnbucklePlacing and tracking event posters
Design a poster with a tracked QR, print coded copies, and record where each one goes to measure which spots pull their weight.
A poster is print-ready artwork with a trackable QR. Print one plain sheet, or a coded run — a batch of uniquely-marked copies you hang around town and bind to their locations in the field. Every scan then rolls up per location, so you can see which coffee-shop window or community board actually sells tickets.
The whole loop lives on one event, plus a phone-friendly field tool. Each screenshot below is captured from the real product by our automated test suite.
Start a poster on your event
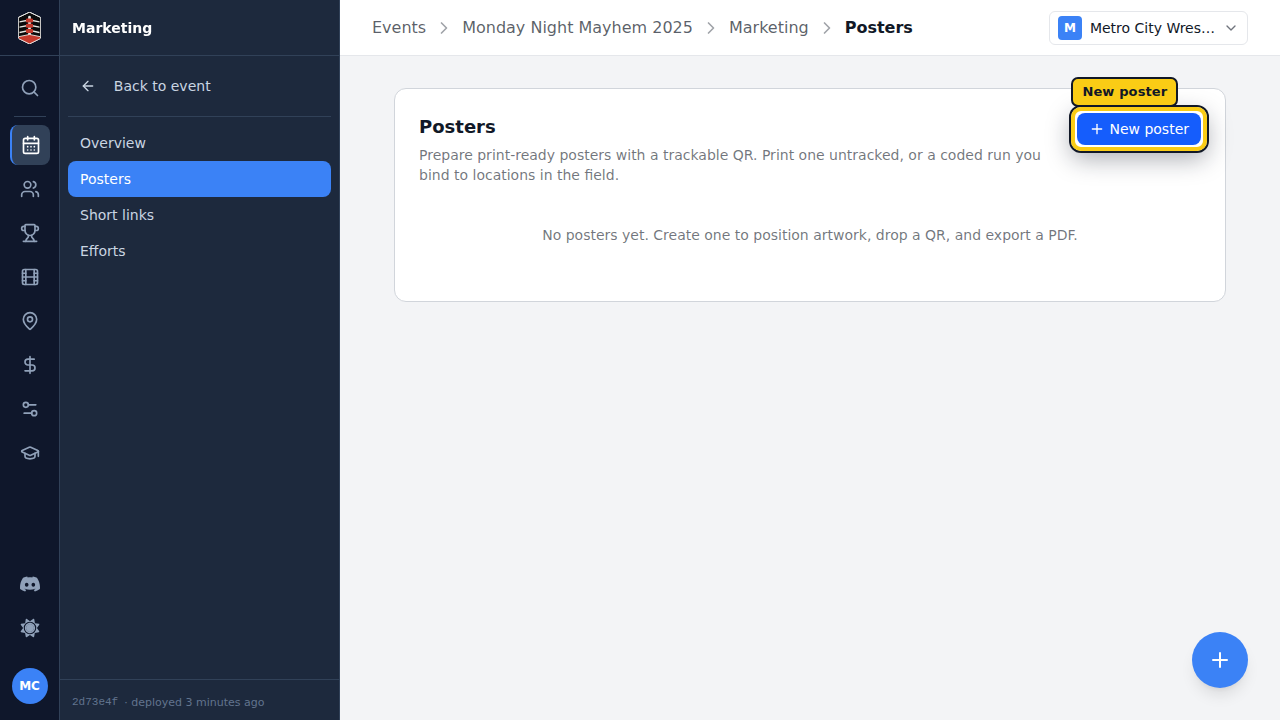
Open your event, go to Marketing → Posters, and select New poster.
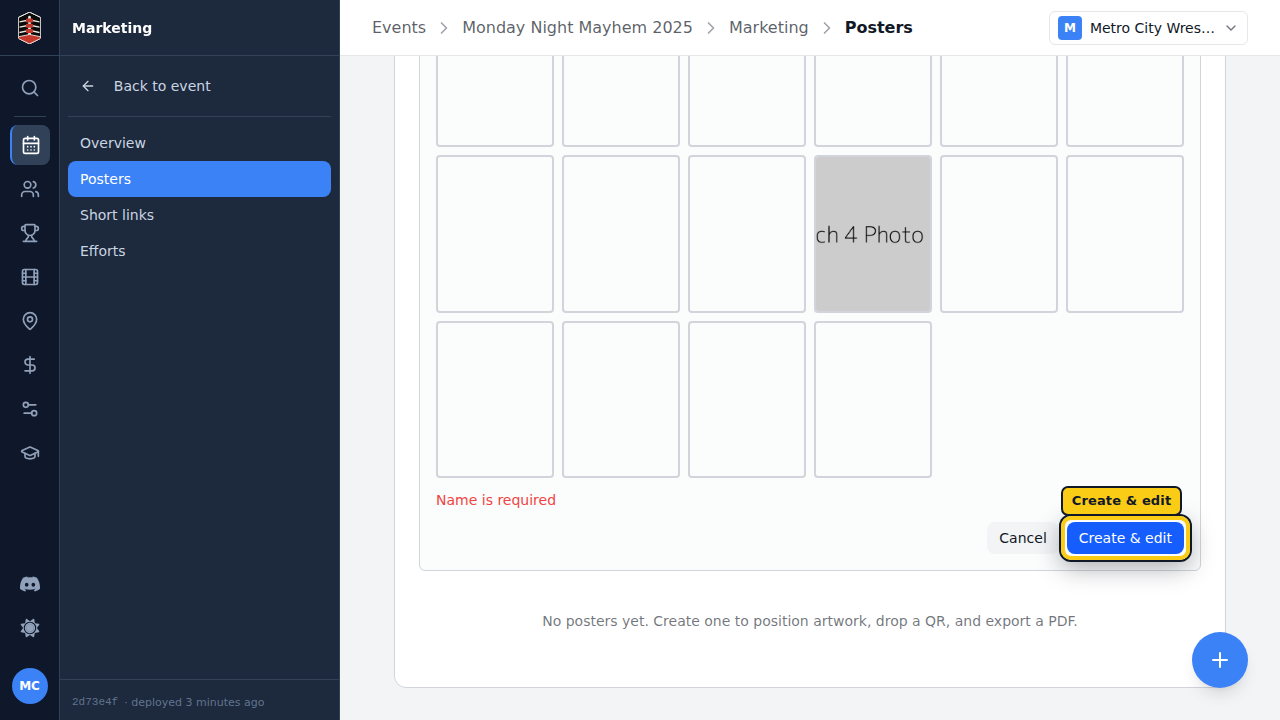
Give it a name and a QR destination — where scanning any copy sends people (tickets, the event page…). You can pick or upload artwork now or later.
Design and export
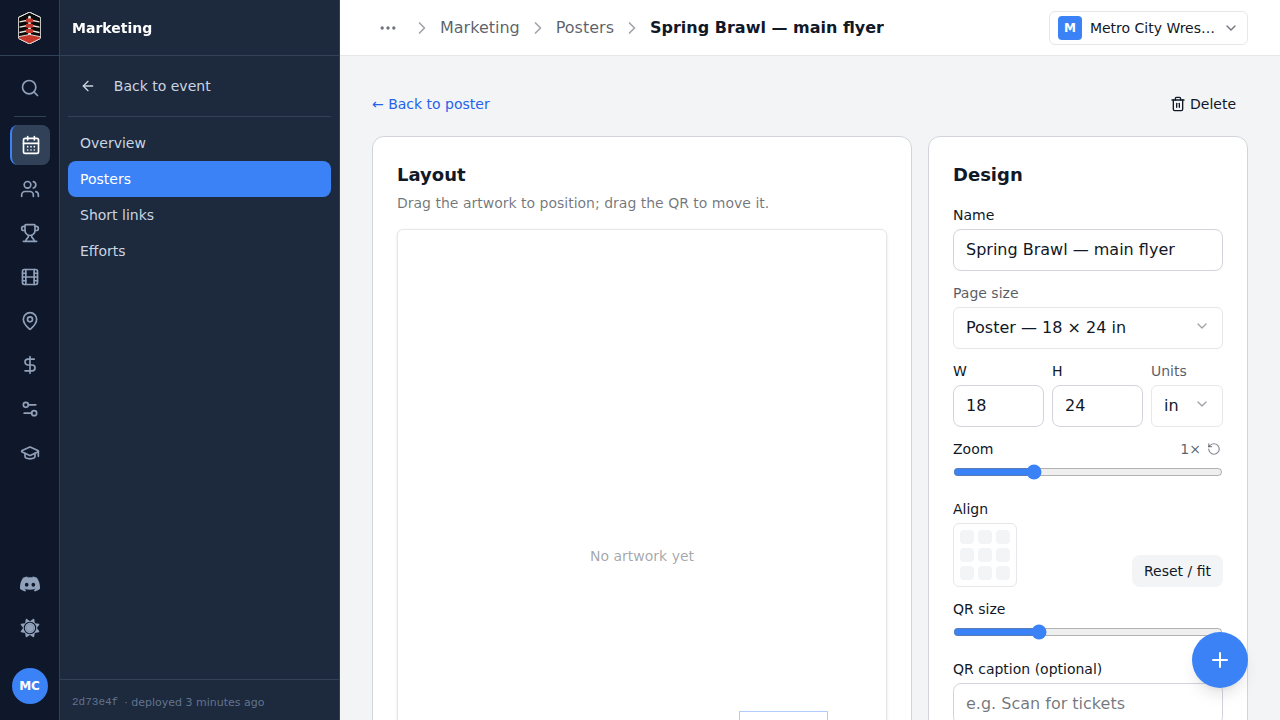
Select Create & edit to drop into the editor. Position the artwork and QR, export a plain PDF, and manage the tracked run — all from here.
Mint coded copies
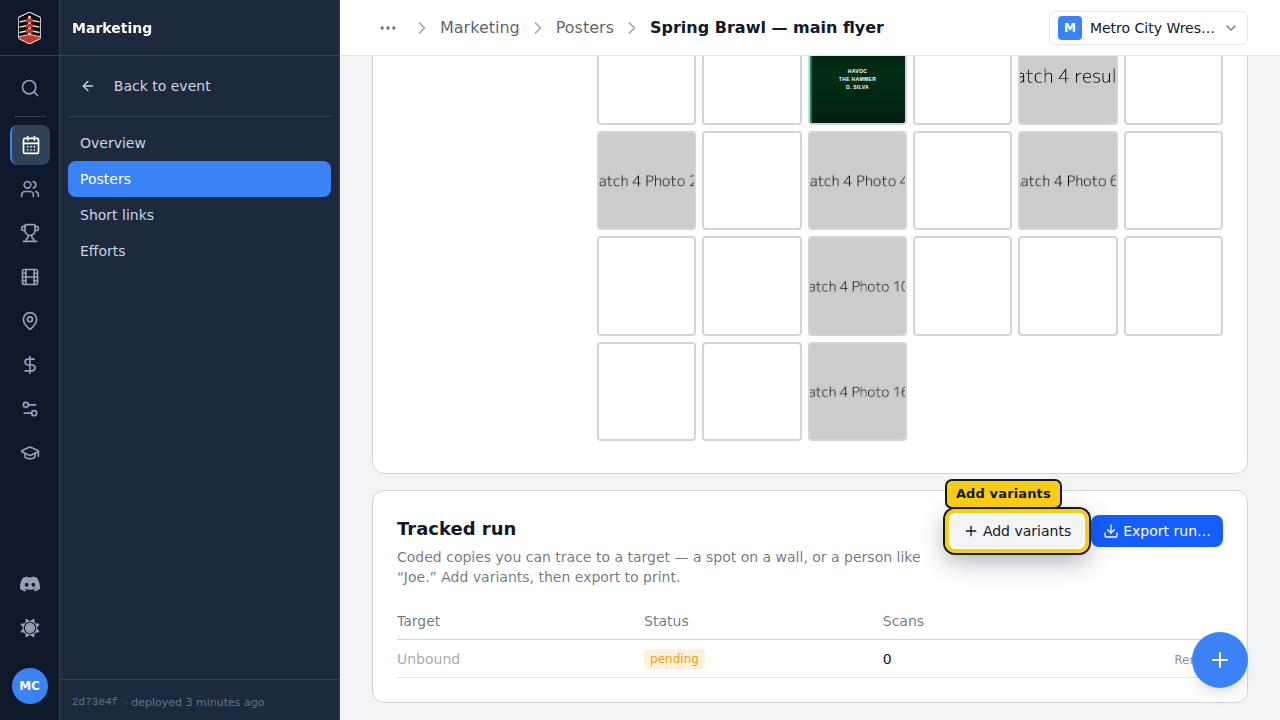
In Tracked run, select Add variants. Name the copies you want to track by target (a spot on a wall, or a person like "Joe"), or ask for a batch of blank coded copies to bind in the field later. Each variant is a uniquely-marked sheet — the shared QR is the same, but its per-copy marker keeps scans separable.
Place it in the field
Out hanging posters, open Business → Marketing → Place posters on your phone. Scan a copy's QR — or type the short marker printed under it — to pull it up.
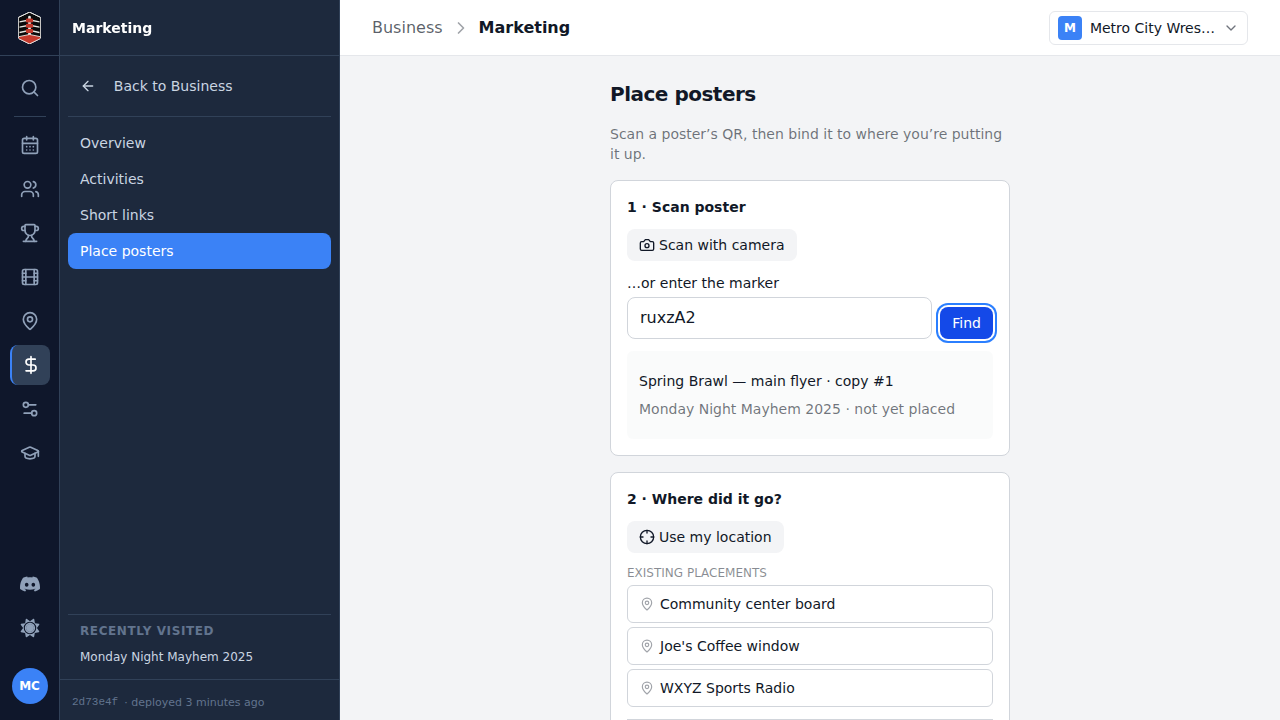
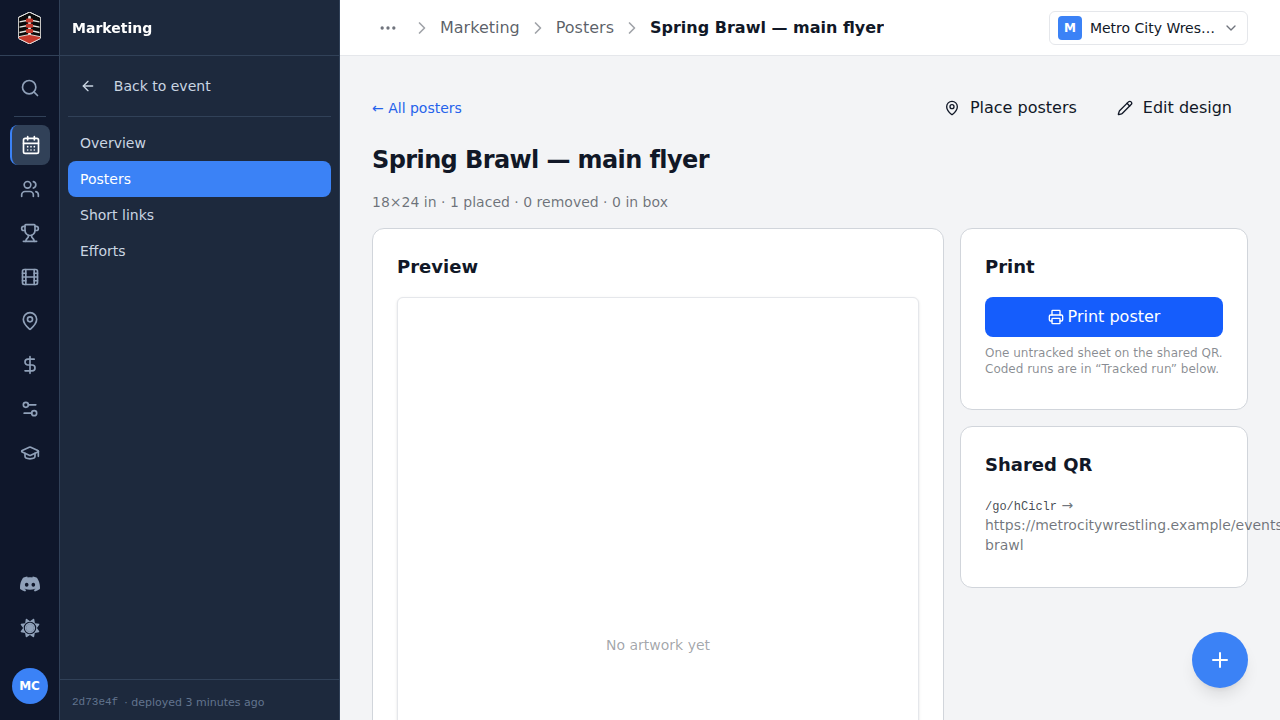
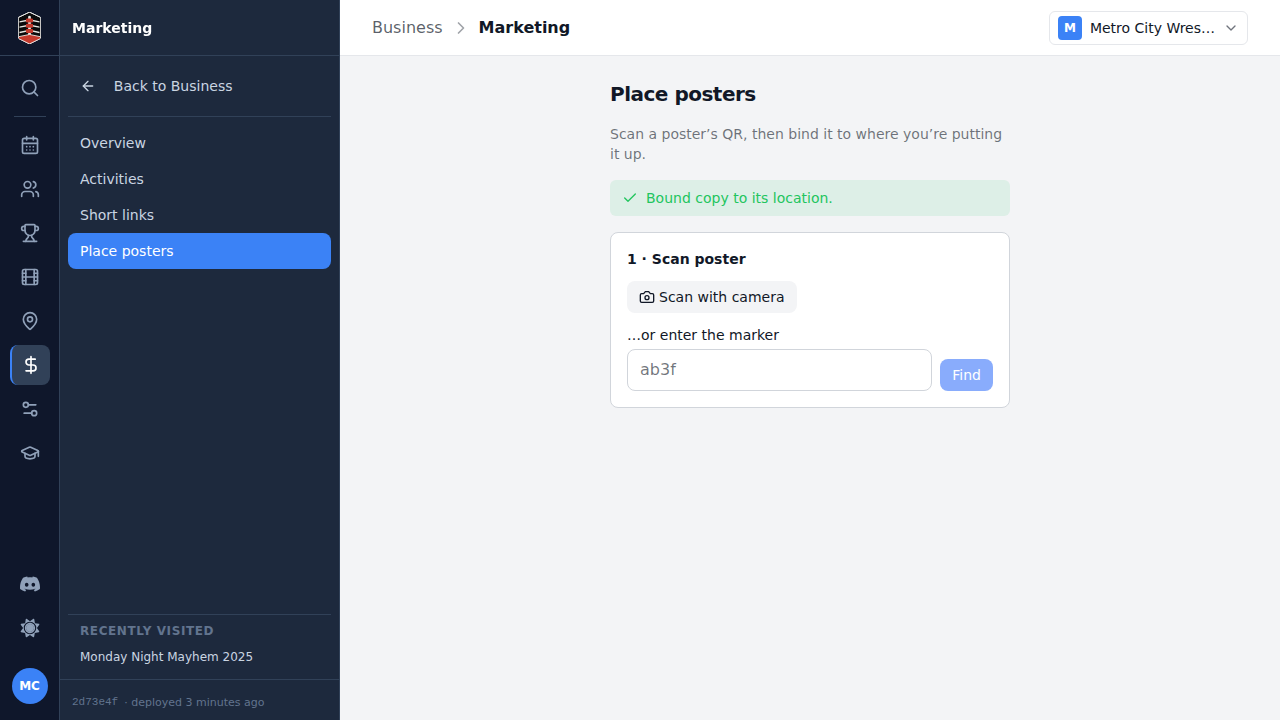
Then record where it went: capture your location and pick a nearby placement, or create a new one in a tap. That binds the copy to that spot.
See the tracking
Back on the poster, the copy now shows placed at its location, and the header counts your placed copies. As people scan it, the Placement performance table tells you which spots are pulling their weight.